
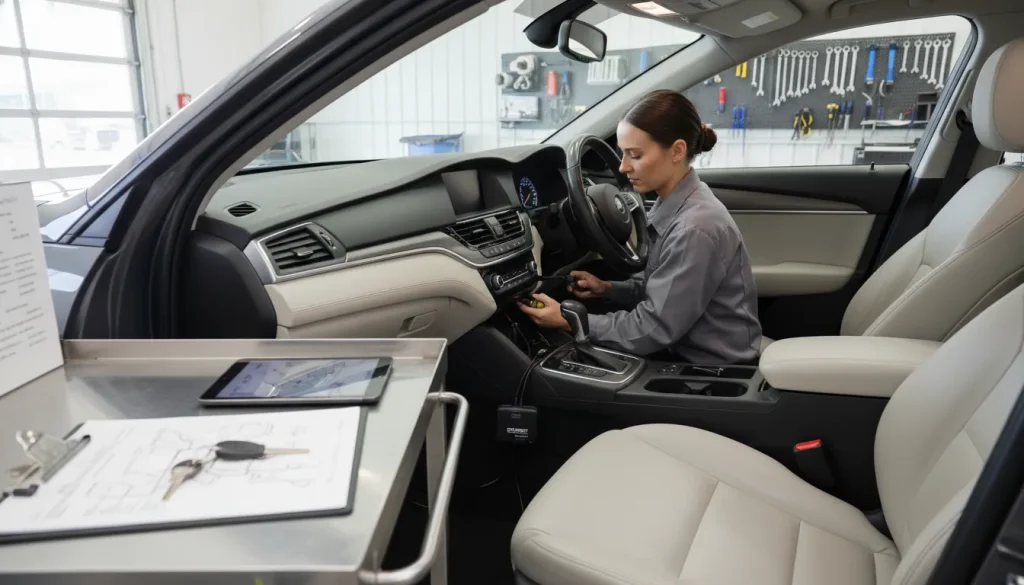
Your first ignition interlock appointment should take hours, not derail your whole day. If you are asking how long does it take to install ignition interlock device, a little preparation helps your technician finish the install, training, and paperwork without avoidable delays.
how long does it take to install ignition interlock device is the question many first-time customers ask. Budget IID installations usually take 1-2 hours. Time can vary with your vehicle, because newer electrical systems, push-button start, hybrid features, or other wiring needs may require careful setup.
Bring your current photo ID, vehicle registration, insurance information, and court or agency paperwork. Bring owner authorization if the vehicle is not yours. A trained technician installs the device, confirms required vehicle information, and teaches you how to provide breath samples before you leave. Installation includes compliance steps, not just wiring: a state installation form documents vehicle details and driver training for the overseeing agency.
If this is your first installation, the practical question is what fills those 1-2 hours and what could slow the appointment. In how long does it take to install an ignition interlock device?, we break down the timeline, documents, vehicle checks, hands-on training, certificate, and next steps. Here’s how.
How long does it take to install ignition interlock device?
Budget IID professional installation typically takes 1 to 2 hours. For planning, set aside about two hours for the full appointment, not only the time spent fitting the device. That window leaves room for a vehicle check, paperwork, installation, hands-on training, and any required certificate steps.
If you need an appointment near home or work, review how long installation usually takes and location options before booking. A planned time block can make the first visit easier to fit around work, school, or family needs.
What happens during the appointment?
An ignition interlock device connects to the vehicle ignition and requires a breath sample before the engine can start. The technician first checks the vehicle and install details. Then, the technician fits the device and tests its operation. This process helps make sure the device is set up for the vehicle you will use.
The visit also includes records and training. For example, a Washington installation form records vehicle details and says the driver receives training. It requires the driver to practice giving samples before leaving the service center. These steps appear in the state’s installation verification form.
Why the time can change
Not every appointment follows the same pace. The vehicle year, model, and electrical setup can affect the hands-on install time. A vehicle check may also take longer if the technician needs to confirm that the starting system works as expected.
Program steps can differ too. Your state agency or court order may require paperwork, proof of installation, or other records. Bring the documents listed for your program, along with the vehicle scheduled for service. If someone else owns the vehicle, ask ahead about owner approval paperwork.
How to plan for a smoother visit
Arrive with enough time to complete the install and learn how to use the device. Plan to practice a breath sample and ask about service visits. Before leaving, learn what a prompt or alert means. Training matters because each drive starts with correct device use.
- Reserve about two hours in your schedule.
- Bring your photo ID and required program documents.
- Bring vehicle registration and any requested proof of insurance.
- Ask what certificate or installation record you will receive.
- Confirm when your next service appointment is due.
If your vehicle is a hybrid or electric model, check Budget IID’s IID compatibility with all vehicle types when you schedule. Sharing vehicle details before the visit gives the installer time to prepare for your car and your program needs.
What happens during ignition interlock device installation?
Arrival and time planning
An installation appointment is a set sequence: document review, vehicle check, installation, testing, training, and completed records. You are not waiting for hardware alone. Time at the shop also helps make sure you understand daily use and the service schedule.
If you are asking how long does it take to install an ignition interlock device, plan for the full visit. The vehicle, documents, and required training can affect your schedule. Bring the items listed when your appointment is confirmed, such as photo ID, vehicle records, and your program paperwork.
Six parts of the visit
-
Check in and review documents. Staff confirm your appointment details and review the papers you brought. If another person owns the car, ask in advance whether the owner must attend or sign an authorization.
-
Inspect and record the vehicle. The technician identifies the car and checks key details before work begins. Program forms may require the make, model, year, license plate, and VIN for the installation record.
-
Install the ignition interlock device. A trained technician connects the unit to the vehicle ignition system. As the CDC explains about ignition interlocks, the vehicle will not start unless an accepted breath sample is provided.
-
Run a device test. The technician checks the unit after it is installed. The test confirms the device responds correctly and the car starts through the required breath-test process.
-
Practice using the IID. You learn how to give a sample, follow screen prompts, and handle service notices. Training should include hands-on practice before you use the vehicle on your own.
-
Collect records and schedule service. Staff complete any required installation paperwork or certificate and give you a copy when applicable. Before departure, confirm the next service visit and how to get help with device questions.
Training and departure details
The final steps matter because installation is also the start of daily compliance. A Washington State Patrol installation verification form includes vehicle details, technician confirmation, and driver practice with breath samples. Forms differ by state or program, so keep the records you receive and follow your own instructions.
Before leaving, make sure you can use the device without guessing. Ask how to read a prompt, when to return for service, and whom to contact if you need support. For appointment planning in Arizona or California, review how long installation usually takes at an authorized Budget IID installation center.
What should you bring to your IID installation?
A smooth appointment starts before you arrive. Gather your papers, confirm the vehicle you will bring, and leave room for setup and training. If you are choosing a service site, find a nearby option through Budget IID’s local installation centers.
Documents to keep together
Requirements may depend on the instruction you received. A practical checklist starts with the government-issued ID, court order, and vehicle registration documents listed in agency installation guidance. Bring readable copies or originals, based on your agency’s directions.
- A current photo ID, such as your driver’s license or state-issued ID.
- Your court order, DMV notice, or other program paperwork.
- The registration for the vehicle receiving the IID.
- Proof of current vehicle insurance, if your program or installer asks for it.
- Owner permission documents, if the vehicle is not registered to you.
If you are using someone else’s vehicle, ask about permission before the appointment. Some state program guidance calls for the owner to attend or provide signed approval. It may also allow the installation site to request current vehicle insurance and owner approval.
Vehicle access and appointment time
Bring every key or fob needed to start and use the vehicle. Remove items that block the driver’s area or access beneath the dashboard. If the vehicle has a remote start or other added electrical equipment, mention it when scheduling.
If you are asking, “how long does it take to install ignition interlock device equipment,” plan for more than the hands-on work. The visit may include paperwork, vehicle checks, installation, device training, and a practice breath sample. Keeping your schedule open avoids stress if one part takes longer.
Consider arranging your day around the appointment, rather than placing it between close commitments. Your technician may need time to record vehicle details, explain service reminders, and answer basic use questions. You should leave knowing how to provide a sample and what to do if the device gives an alert.
Your state or court instructions
Your order is the first place to look for the right documents and deadlines. Review it before you travel, and keep a copy with you. If a detail is unclear, ask the court, DMV, or your installer what is required for your appointment.
Do not assume a friend’s checklist applies to your case. Confirm the approved vehicle, any owner consent form, and whether proof of insurance is required. A short call before your visit can help prevent a missing document from delaying installation.
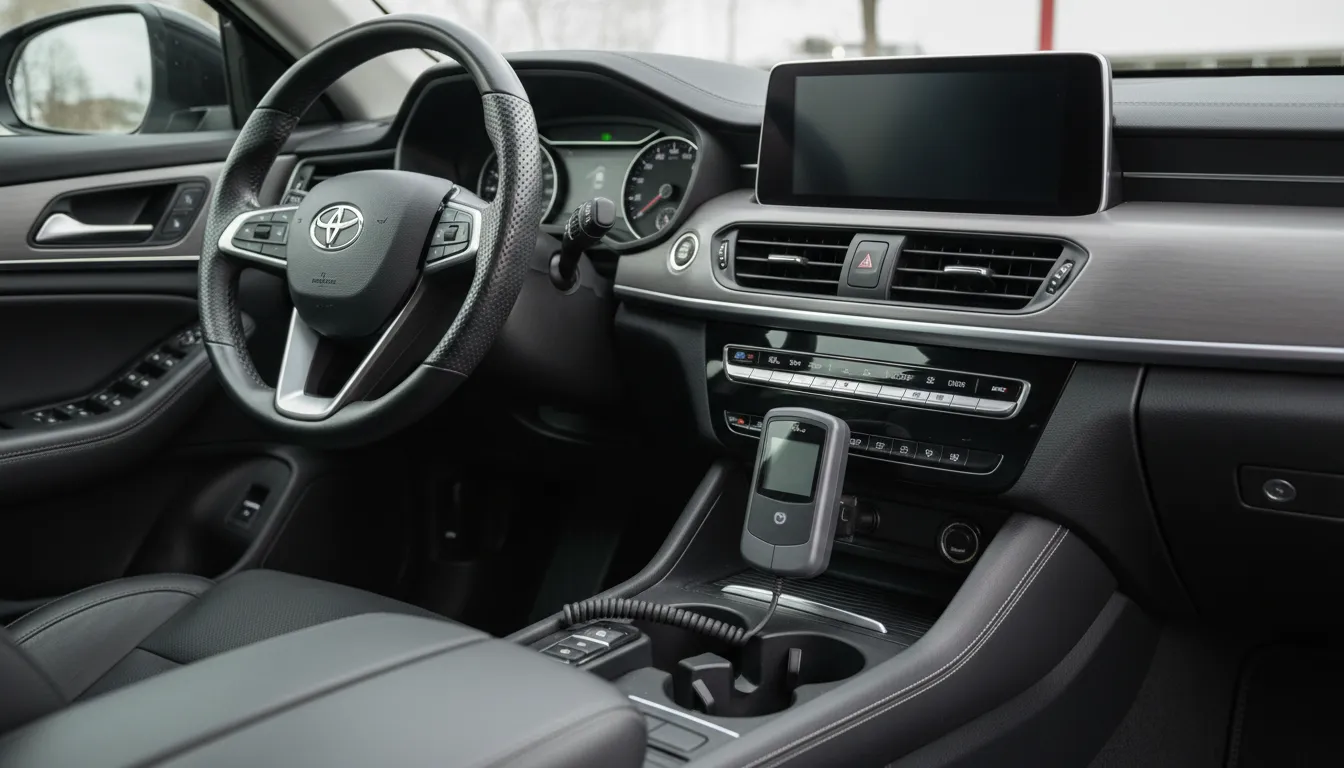
Vehicle factors that can change installation time
The vehicle matters when you ask how long does it take to install ignition interlock device equipment. A car with a familiar ignition layout may take less setup work than a vehicle with added electronics. Sharing accurate vehicle details when booking helps the technician plan for the right installation.
The ignition layout
An IID must connect with the vehicle ignition. The CDC explains how an ignition interlock works: the engine does not start unless the driver gives a breath sample below the set limit. That connection is why the technician first looks at the starting system and power setup.
Many standard gas vehicles have common keyed ignition layouts. In contrast, a newer vehicle may have a push-button start or more controls tied to the starting system. Those features do not mean an IID cannot be installed. They can mean the technician needs more care for wiring, setup, and testing.
| Vehicle factor. | Standard setup. | Setup needing added review. |
|---|---|---|
| Ignition layout. | Familiar keyed ignition. | Push-button or linked controls. |
| Power system. | Gas vehicle battery. | Hybrid or electric system. |
| Added electronics. | No starter accessories. | Remote start or complex accessories. |
| Vehicle use. | Personal vehicle. | Shared or employer vehicle. |
| Booking details. | Year, make, and model. | Added systems and users. |
Hybrids, EVs, and remote start
A hybrid or electric vehicle uses a different power setup than a standard gas vehicle. A remote start system or linked electronic accessory can also affect the work plan. Published installation guidance notes that vehicles with integrated systems or specialized remote start setups may need added time for configuration.
Budget IID supports all vehicle types, including hybrid and electric vehicles. Its units are designed to minimize battery drain. Before your appointment, you can read about IID compatibility with all vehicle types and share your vehicle type when you book.
If your vehicle has remote start, do not leave that detail out. Give the technician the year, make, model, and details about installed starter accessories. A clear description helps the installer prepare for the electrical layout and allows time for testing the IID with the vehicle.
Shared and employer vehicles
A shared vehicle can add planning to the appointment, even when the installation itself is straightforward. Other people who drive the car need to know an IID is installed and how to use it correctly. State program materials may require that potential operators receive device training.
For an employer-owned vehicle, discuss the vehicle and work use before the appointment. Some orders have rules for driving an employer vehicle during work. For example, Nevada court guidance says a driver using an employer-owned vehicle under an order must notify the employer about the ignition interlock order.
These factors are practical scheduling issues, not reasons to delay seeking installation. Tell the provider about the vehicle and its added systems at booking. That helps the appointment include the correct setup, testing, and driver instruction without avoidable surprises.
Find a Budget IID installation location near you and confirm what to bring before your appointment.
How training helps you leave confident
Practice before your first trip
The appointment does not end when the device is in your vehicle. A technician can walk you through a start-up breath sample, then let you practice while help is close by. This calm first try matters if you are worried about using an IID for work, school, or family trips.
Training is part of a safe handoff, not a test of you. For example, Washington’s installation verification form says a restricted driver receives instruction and practices samples before leaving the service center. You can review that official training form to see what a clear handoff may cover.
Prompts, retests, and lockouts
Your technician should show you how to read the handset prompts and give a steady breath sample. Ask what tones or messages mean, and what to do if the unit asks for another sample. You should also know how rolling retests work before you drive away.
An IID is connected to the vehicle ignition. The vehicle will not start unless the breath sample is below its set limit, as the CDC explains. Training helps you respond to alerts correctly and avoid confusion about failed samples, missed retests, or a lockout message.
- Practice the first breath sample until the steps feel clear.
- Learn the sounds, screen messages, and retest prompts.
- Ask how to handle a warning, failed sample, or service notice.
- Keep the manual and support contact details in an easy place.
Questions to ask before leaving
Use the training time to ask practical questions before your daily routine begins. Where should you keep the handset when parked? What should you do if a prompt comes at a busy moment? Clear answers can make the first drive less stressful.
Before you leave, ask when service visits are due and how to reach support if a prompt is unclear. Budget IID can explain device use without judgment and help you prepare for daily driving. If appointment timing is still on your mind, read about how long installation usually takes.
If anyone else may use the vehicle, bring them into the plan. They need to know that the IID applies whenever that vehicle is started. Ask the technician how another approved driver should give samples, follow retest prompts, and avoid actions that could affect your records.
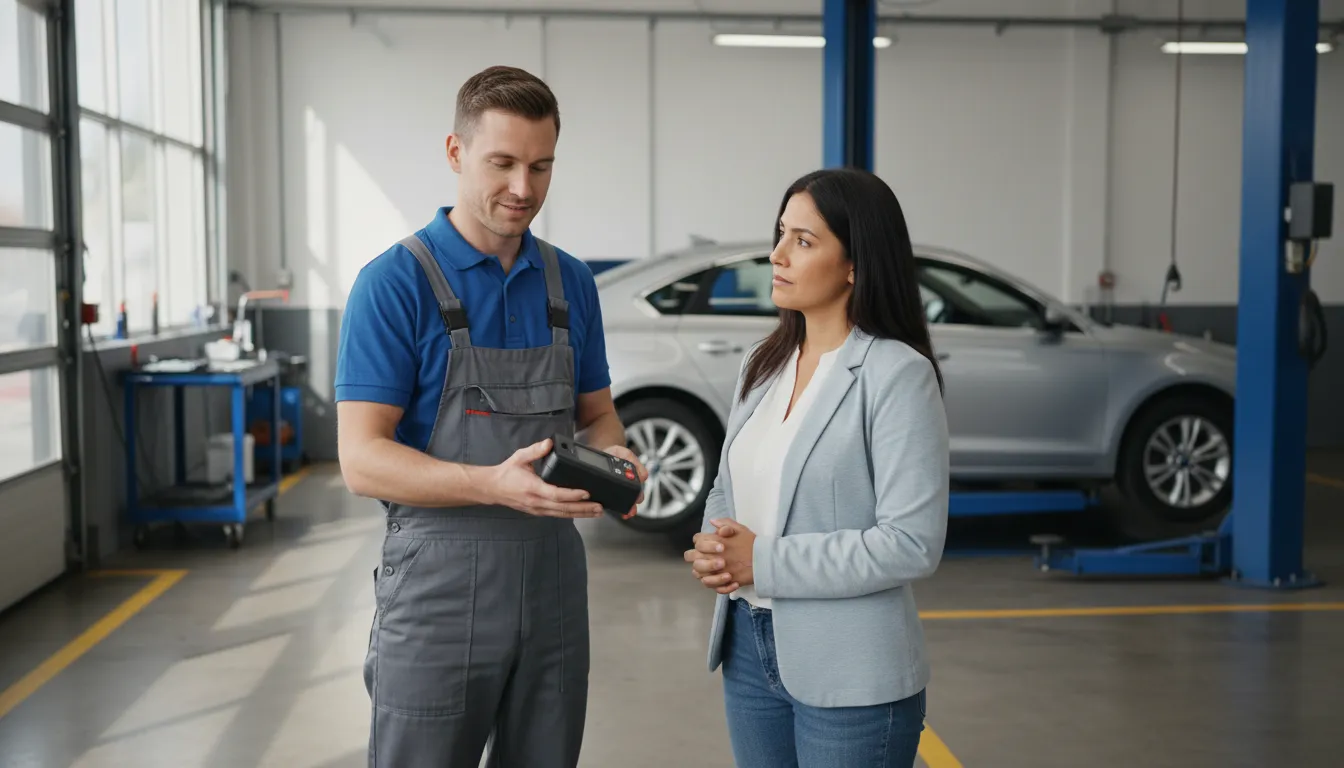
What happens after the device is installed?
Installation records and next steps
Once installation is complete, the technician should confirm that the device works with your vehicle and explain its use. You will practice giving a breath sample before leaving. This training matters because the device becomes part of your daily start-up routine.
You may also receive an installation verification form or compliance certificate. For example, Washington’s installation verification form records the vehicle, device, technician, and driver training. Your own state agency or court may use a different form.
Ask which records go to the state, court, or monitoring office. Find out which ones you must submit yourself. Keep a copy of your installation record, service agreement, receipts, and device guide. If instructions conflict, follow the written terms of your court order or state program.
Service and compliance visits
Installation is the first appointment, not the last one. Your technician should explain how to book required service visits for calibration and data review. Budget IID advises that calibration is required every 60 to 90 days, when applicable to your program. Appointments take about five minutes.
Drivers in Arizona can review general installation and compliance requirements before follow-up visits. Exact reporting steps and service dates depend on the order or program that applies to you. Bring requested paperwork to each visit. Keep updated service records together.
Plan ahead so travel, work, or school does not cause a missed visit. Service appointments are also a good time to ask about alerts or missed tests. Do not disconnect, alter, or bypass the device. Contact the service team first if something does not work as expected.
Help after you leave the appointment
Before leaving, make sure you know how to start the vehicle, give a sample, read prompts, and respond to an error message. If another permitted driver may use the vehicle, that person should learn the correct steps before driving it.
Keep the service center contact information in your phone and with your paperwork. If you need a nearby visit, use Budget IID’s page to find your local installation center. Ask the team about cost questions or whether a vehicle change affects service.
A short installation appointment starts the process, but good records and timely service help you stay on track. Before driving away, confirm your next action, where paperwork must go, and who to call with device questions.
Frequently Asked Questions
How long does it take to install an ignition interlock device?
Plan to reserve up to two hours for an ignition interlock installation appointment. Published provider guidance says many physical installations take less than one hour, while appointment time may also include paperwork and device training. The exact length depends on your vehicle and required setup. See the guidance from Intoxalock and Smart Start.
Can I drive to get my ignition interlock installed?
Whether you can drive to installation depends on your current license status and the instructions in your court or motor vehicle agency paperwork. Do not assume the installation appointment gives permission to drive beforehand. Confirm your restrictions before the appointment. If driving is not allowed, arrange for a licensed driver or ask whether mobile installation is available in your area.
How long do I need to have a breathalyzer in my car after a DUI?
The required ignition interlock period is separate from the installation appointment length. Your state program and court or licensing order set how long the device must remain installed. The CDC notes that every state uses ignition interlock programs to manage required or eligible drivers. Follow your written order and scheduled service instructions until you receive approval for removal.
Ready to book your ignition interlock installation?
Delaying your installation can push a required step farther out while transportation plans, work schedules, and daily responsibilities remain unsettled without clear timing. Starting now gives you time to select a convenient nearby installation location, gather the requested documents, and plan around your vehicle and schedule. With your appointment booked, you can arrive prepared, complete your device training, and leave knowing the next compliance steps to follow.
Ready to take the next step toward completing your ignition interlock installation? Book your ignition interlock installation to choose a nearby location and request an appointment. Scheduling now helps you set aside time, prepare your paperwork, ask vehicle questions, and plan for what comes after your training.